 Save
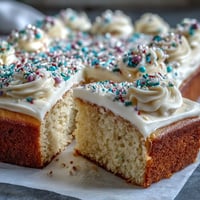
Save The first time I laid my eyes on a marbled cake, I was in awe of its swirling colors that seemed to dance on the plate. It was at a friend's birthday party, and I remember the moment vividly: the sweet aroma wafting through the air, laughter harmonizing with the sound of candles being blown out. I couldn't resist the charm of that cake, and right then, I knew I had to recreate it myself in my kitchen. Fast forward a few weeks, and my amateur baking adventure began with this Gemini Cake, which captures that delightful balance of flavors and colors beautifully. The magic of transforming simple ingredients into a stunning centerpiece never fails to amaze me.
I'll never forget the joy on my sister's face when I made this cake for her graduation. With friends and family gathered, the cake was the star of the show, a beacon of celebration amid the joyous chaos. As we sliced it and watched the marbled layers reveal themselves, we all cheered, toasting to her success and reveling in each delicious bite. It became a moment of connection, laughter, and togetherness that made the effort worth every second.
Ingredients
- All-purpose flour: The foundation of the cake that gives it structure and a light texture.
- Baking powder: Ensures the cake rises beautifully to create a fluffy crumb.
- Salt: Just a pinch enhances the sweetness, balancing flavors perfectly.
- Unsalted butter: Using room temperature butter makes for a creamier batter and richer flavor.
- Granulated sugar: The sweetness that makes every bite delightful.
- Large eggs: Essential for binding, they contribute moisture and rich taste.
- Vanilla extract: A splash of this adds warmth and a hint of nostalgia.
- Whole milk: Helps keep the cake moist and enhances the batter's creaminess.
- Instant vanilla pudding powder: The secret ingredient for an extra moist texture (optional but recommended).
- Yellow gel food coloring: To achieve that stunning marbled effect.
- Frosting ingredients: Butter, powdered sugar, and vanilla create a luscious finish to this cake.
Tired of Takeout? 🥡
Get 10 meals you can make faster than delivery arrives. Seriously.
One email. No spam. Unsubscribe anytime.
Instructions
- Prepare Your Pans:
- Preheat your oven to 350°F (175°C) and get two 9-inch round cake pans ready by greasing and lining them with parchment paper.
- Mix Dry Ingredients:
- In a medium bowl, whisk together flour, baking powder, and salt making sure there are no lumps.
- Cream Butter and Sugar:
- In a large bowl, beat together the butter and sugar until light and fluffy; this should take about 3–4 minutes.
- Add the Eggs:
- Incorporate the eggs, one by one, making sure to mix well after each addition, followed by the vanilla extract.
- Create the Batter:
- Combine the dry ingredients alternating with the milk, mixing until just combined for a smooth batter.
- Color the Batter:
- Divide the batter into two bowls and color one half with yellow gel food coloring, mixing until you reach your desired shade.
- Dollop and Swirl:
- Spoon dollops of each batter into the pans, using a skewer or knife to create a beautiful marbled effect.
- Bake Away:
- Pop the pans into the oven and bake for 30–35 minutes, or until a toothpick comes out clean when inserted into the center.
- Cool and Frost:
- Once baked, cool the cakes in the pans for 10 minutes before transferring them to a wire rack. Frost the layers and top with your creamy, dreamy frosting.
 Save
Save 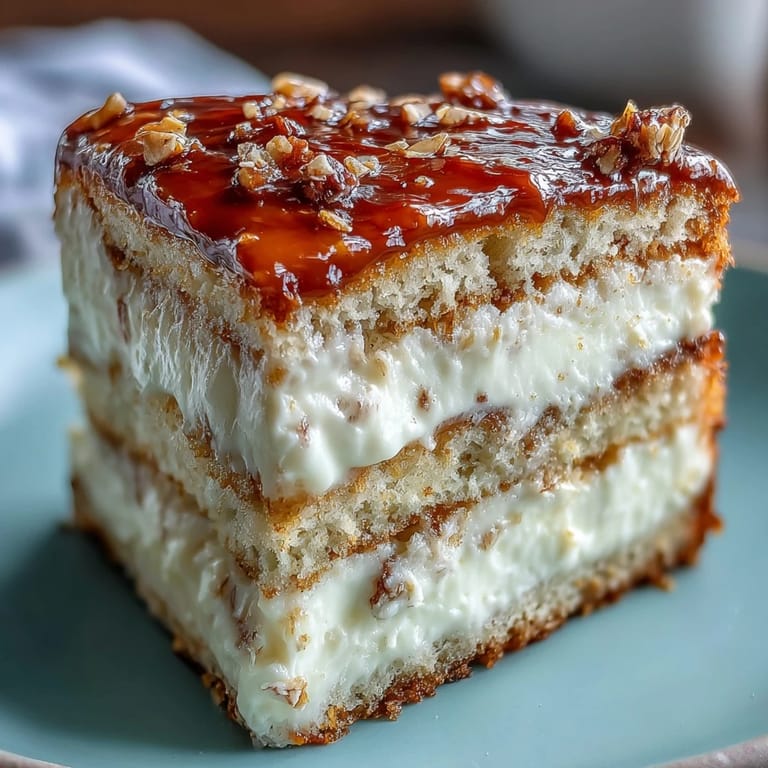 Save
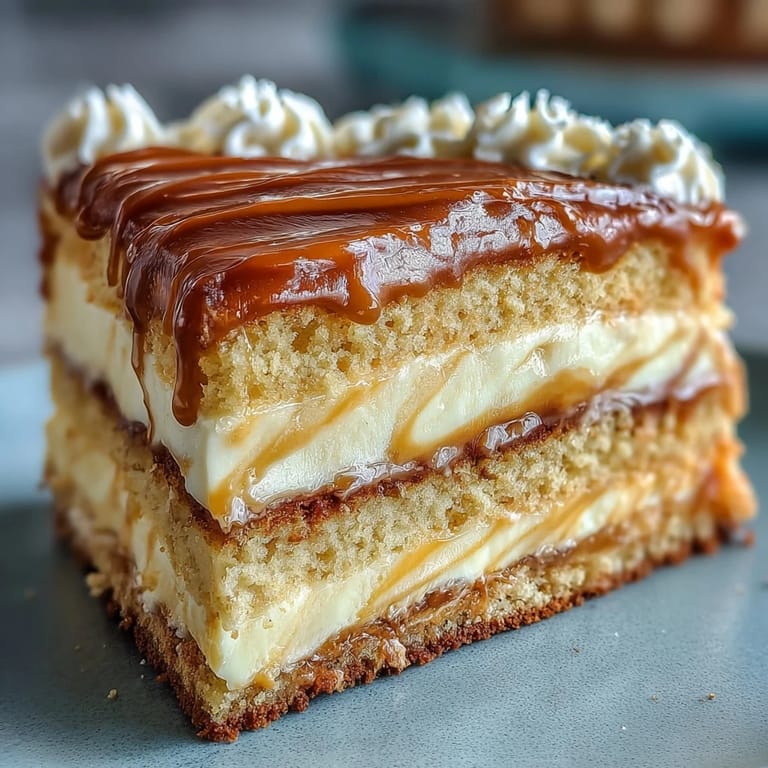
Save This cake truly transcends just being dessert; it becomes a centerpiece that brings people together. Each layer, each slice shared, sparks conversations and laughter, turning any gathering into something more special. There’s something beautiful about feeding friends and family something made with love, isn’t there?
A Kitchen Experiment Worth Trying
Experimenting with flavors can add a personal twist to this classic cake. For instance, a hint of lemon zest in the yellow batter elevates the flavor profile remarkably. Don’t shy away from getting creative with fillings, like a luscious lemon curd or even berry preserves nestled between the layers.
Creating the Perfect Frosting
The frosting can make or break your cake, so it’s worth spending some extra time on it. Aim for a consistency that is thick enough to hold its shape but spreadable for easy application. A pinch of salt in the frosting balances the sweetness beautifully.
Decorating Your Masterpiece
When it comes to decorating, the sky's the limit! Use fresh fruits, edible flowers, or chocolate shavings for that extra flair.
- Consider adding a drizzle of chocolate ganache for a rich finish.
- Create fun shapes or patterns with the frosting for a whimsical touch.
- Remember the power of simplicity; sometimes less is more!
 Save
Save 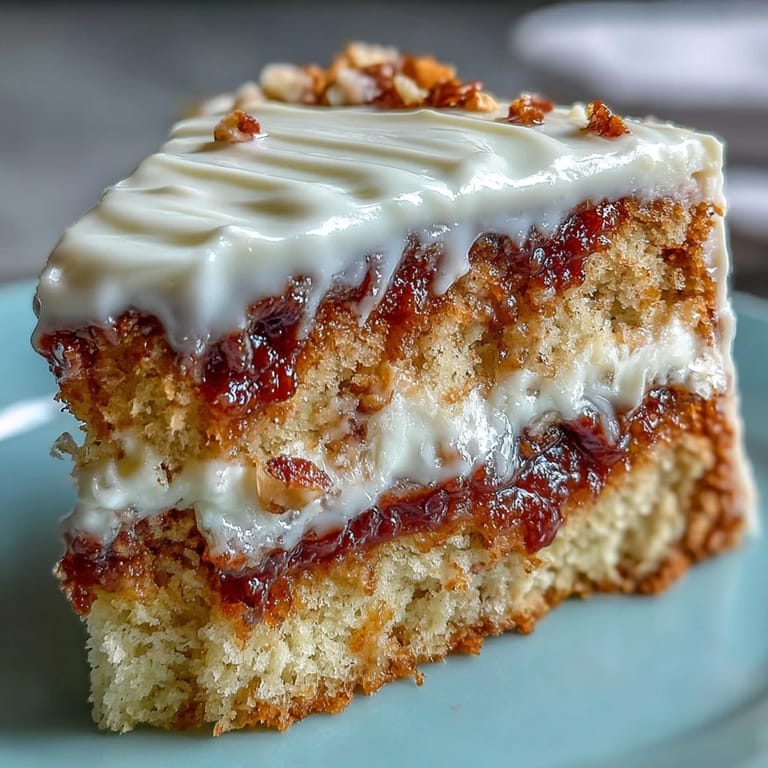 Save
Save Every slice of this Gemini Cake tells a story of celebration and togetherness. So gather your loved ones and let the flavors do the talking!
Recipe Help & Answers
- → What is the best way to store the cake?
The cake can be stored in an airtight container at room temperature for up to three days. For longer storage, refrigerate it, but allow it to come to room temperature before serving for the best flavor and texture.
- → Can I use different colors for the marbling?
Absolutely! You can experiment with any gel food coloring to achieve your desired look. Just ensure you mix it in gently to maintain the marbled effect.
- → How can I make the cake more flavorful?
For added flavor, consider mixing in lemon zest or using flavored extracts alongside vanilla. Fruit preserves between the layers also enhance the taste.
- → Is there a gluten-free option for this cake?
Yes, you can substitute all-purpose flour with a gluten-free flour blend. Make sure to check that all other ingredients are gluten-free.
- → What can I use instead of butter in the frosting?
You can use cream cheese or a dairy-free butter alternative if you're looking for a different flavor or a dairy-free option.